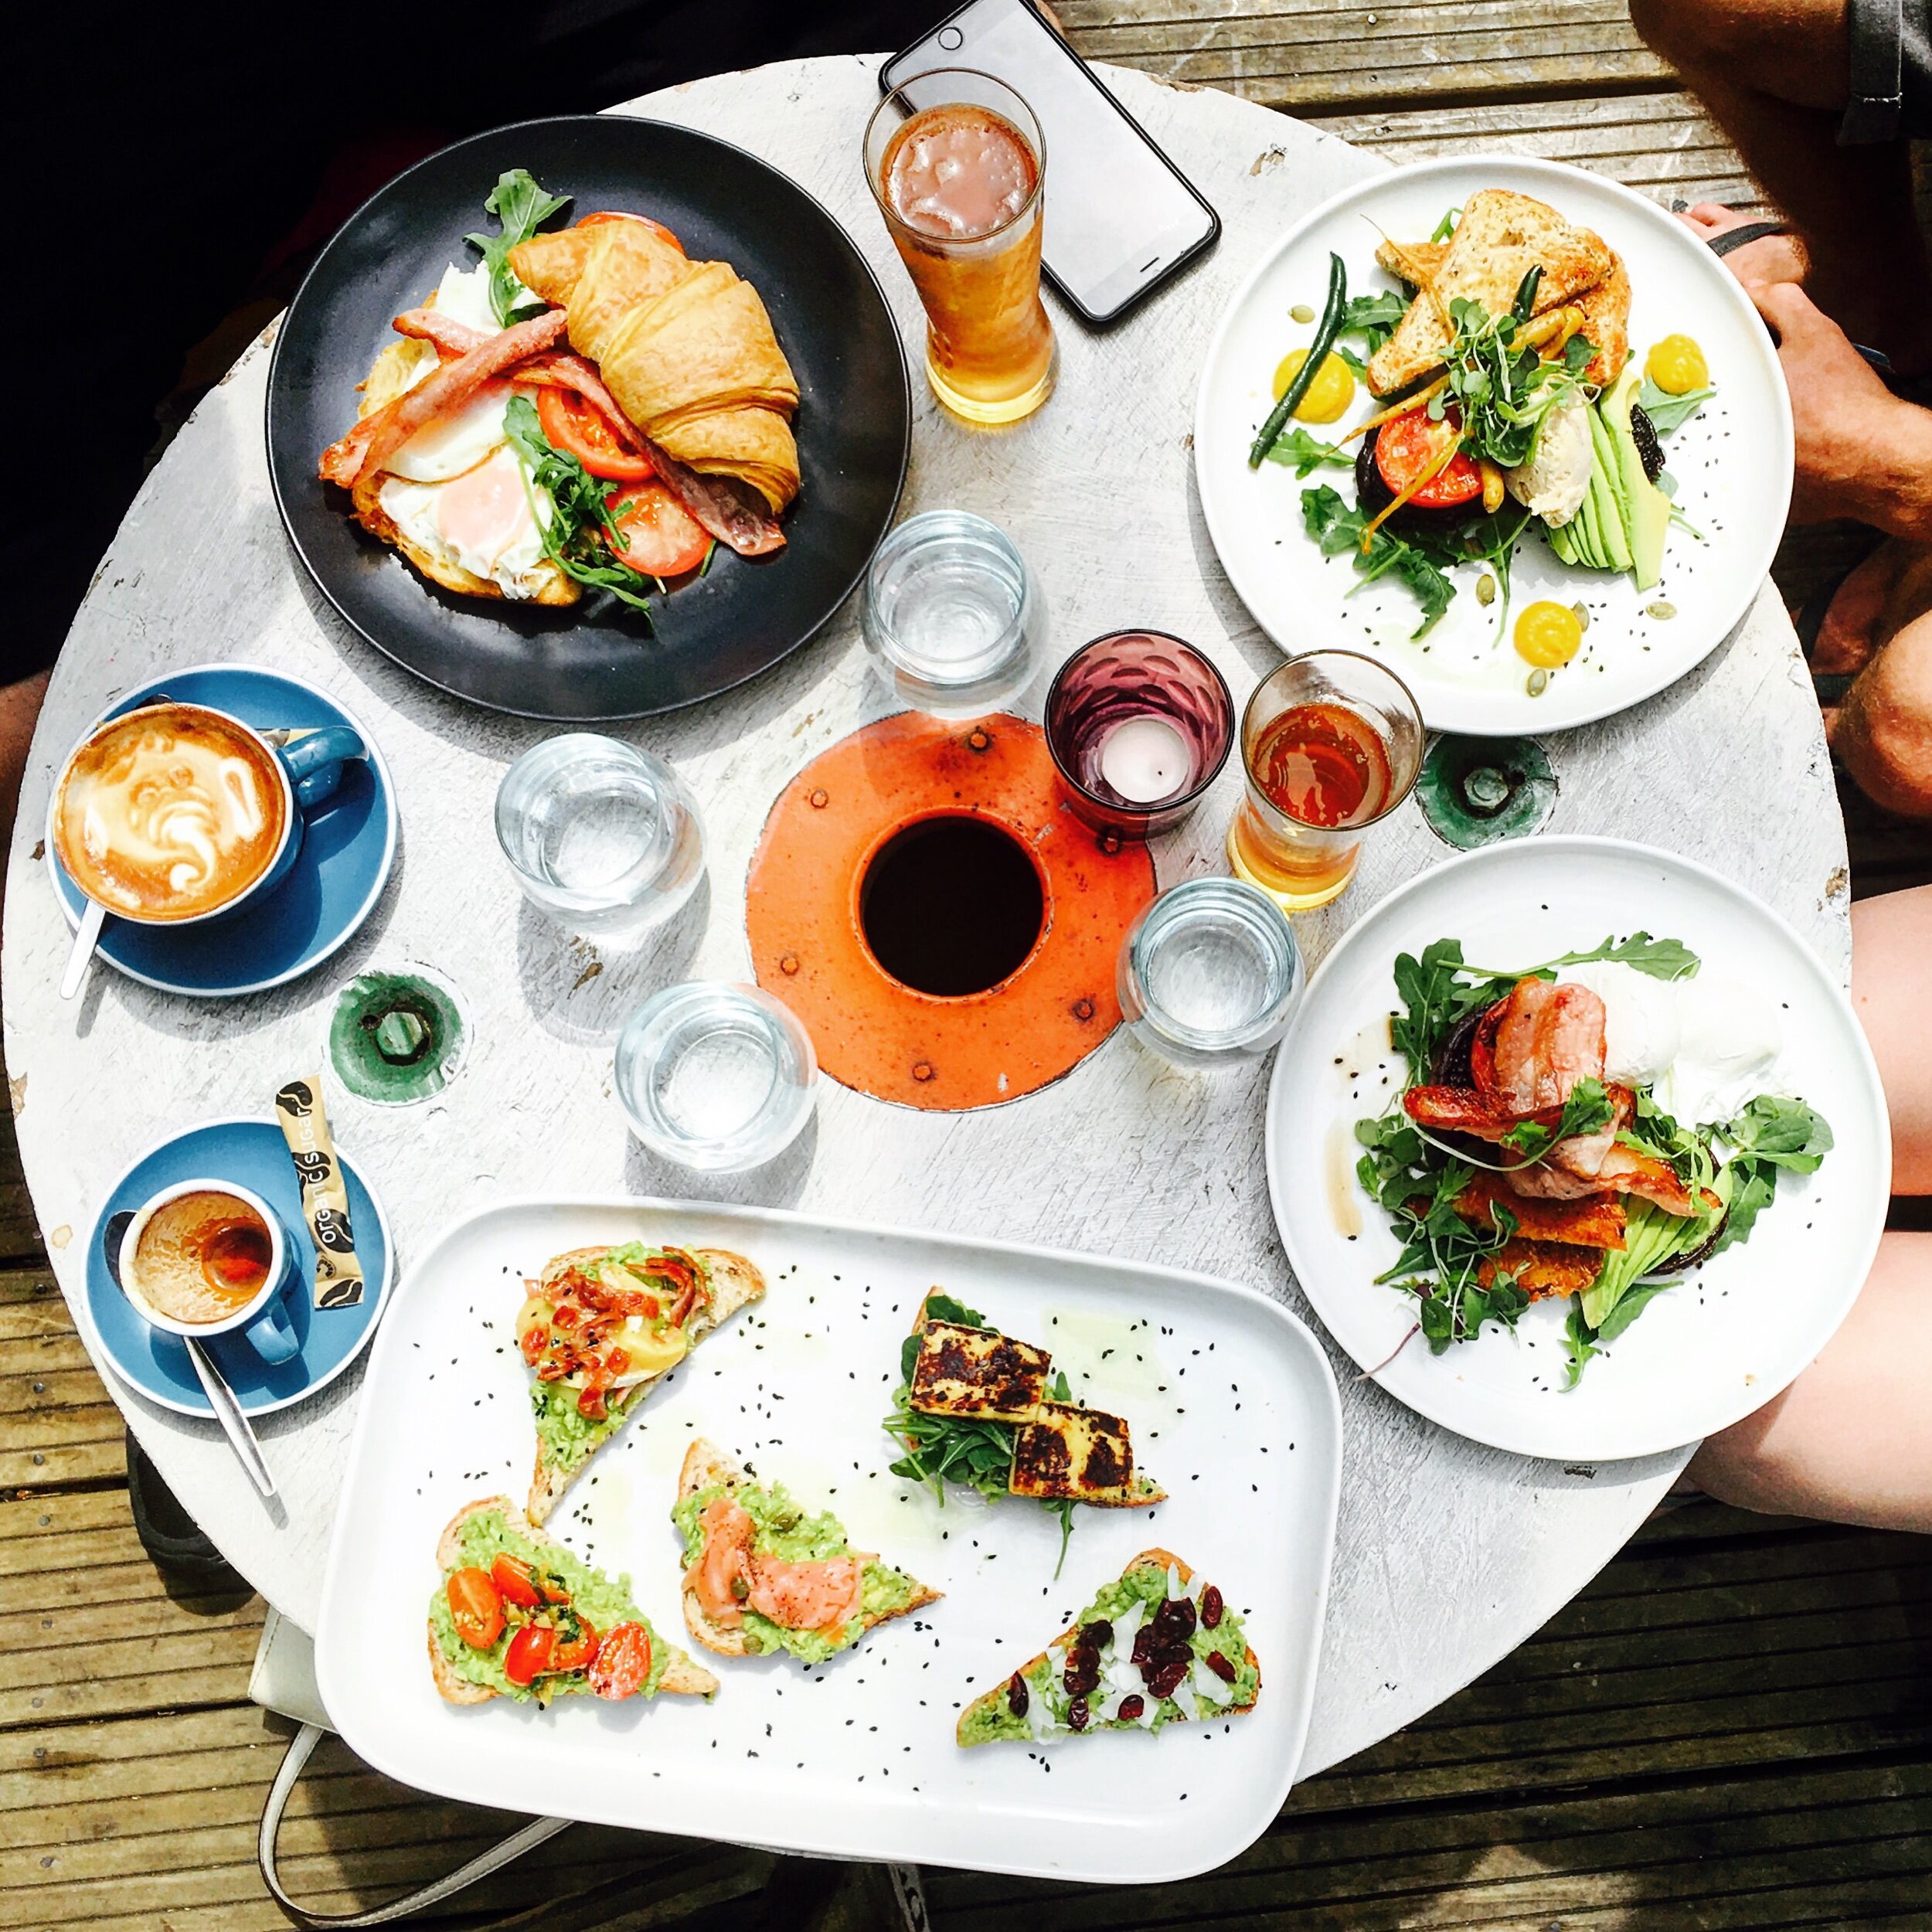
How to take Awesome Pics on a Smartphone
So, you are here because you want to know how to take awesome pics on a smartphone. Maybe you don’t have the budget or room in your schedule to invest in a camera and you want to make do with your phone, or maybe you simply aren’t a believer that a professional camera is for you.
Whatever the reason, I can assure you that taking a good photo is not always about the camera…
…it’s all about lighting.
Yes. Photography is all about lighting. In fact, the very definition of photography is “drawing with light” derived from the Greek word ‘photo’, meaning light and graph, meaning to draw.
So the question now is… How to understand light to take good photos? Well, I will advise you some simple tips to help make your smartphone photography (and maybe even videography) a little bit easier.
Note: All of these were taken throughout the years on an iPhone 6plus to iPhone 11. Some have not been edited to preserve the original look. Newer smartphones should be equipped with better camera technology with improvement to results, but lighting is still important to achieve the best results possible.
Tip 1: Takes photos during the day!
I know this sounds like an obvious dummy tip, but I have to say it; taking photos during the day will produce higher quality results as opposed to “straining” your smartphone’s camera functionality during the evening when there is less light available.
Here are some examples of smartphone photos taken during the daytime. Taking photos during the day is easier than at night.
This does mean you will be restricted to a time frame to capture content, unless you…
Tip 2: Invest in (portable) lighting gear.
Okay this may sound expensive, but lighting gear for photography and videography has become quite inexpensive and accessible these days. Think ring lights, handheld LED lights, and diffused light cubes, all items that can be purchased at a department store, Target, Amazon, etc. If you buy a portable one, you can take this with you as you visit restaurants. You can expect to pay from $5 to $200 or more…
Why so cheap? You do get what you pay for, but if you are just after the odd snap every now and then, you don’t need to invest in professional lighting worth an arm and a leg. A $20-$50 light should be enough to get you started, which is enough to buy a small cube light or a reasonable sized ring light.
Here are some examples of photos taken with portable light sources. All of these photos were taken in the evening when I had no choice but to capture the images at the time.
Tip 3: Take the photo next to a window.
Another tip related to taking photos during the day, take the photo next to a window. If you’re in a cafe or restaurant ask for a seat next to a window. If you’re at home, find the best window with the best light possible. Sometimes you won’t always get the best window light (depending where the sun is at the time) but it’s probably going to be the best option anyway.
Here are some photos taken next to a window.
Tip 4: Take photos in direct sunlight.
So you may be thinking… I don’t like harsh lighting in my photos! But I highly recommend giving this one a go; direct sunlight can be very flattering for photography. In fact, I prefer taking photos on my smartphone in direct sunlight than my pro camera; it seems to be easier to control on the phone. The trick is to be know where the sun is and how to position your subject.
Here are some photos taken in direct sunlight. Note how I have positioned the subject to account for harsh lines and shadows.
Tip 5: Avoid poor or too many lights.
Here is something not to do in order to get the better image; avoid poor or too many lights. This is a very common issue when taking photos on the fly; often times we are seated in restaurants with lots of lights in the venue from all directions, or when we are at home when we cook our food it’s dinner time and there are a lot of lights around the home. When we take photos in these conditions the photo may look “unclean”, “too yellow”, or “too many weird shadows”… here are some photos of mine taken in exactly these conditions; sharing what not to do…
Here are some examples of poorly taken smartphone photos where the light is not right, or there are too many conflicting light sources.
Tip 6: Think Left to Right; North to South.
Knowing where the light is coming from will also help with the composition. Consider the concept of left to right; north to south. Doing this will make your photo seem more natural. For right facing light, place your light source on the left, or take the photo with the natural light coming from the left to direct it right. For south facing light, place your light source from the north and face it south, or have the natural light coming from north to the table.
Here are examples of purposeful directional light.
Tip 7: Go outside!
Another dummy tip but sometimes this one escapes us at times… go outside! This will help you avoid the lights in doors, and being outside is typically where the best light is so make the most of it. Take a table outside, style the subjects on the ground (yes, the ground), or get a friend to hold the dish.
Here below are some photos styled outdoors.
Tip 8: Wait for an overcast day.
Arguably an overcast day is the “best” type of day to take photos; the light is dispersed evenly through the clouds, which means there is “more” light everywhere, and the shadows are softer. Taking photos during this type of day may make them look better too.
Here are some examples of photos taken on an overcast day.
Tip 9: Use Portrait Mode
For anyone who takes photos on a smartphone Portrait Mode is a great way to focus on a subject by creating a blurry background. However, it doesn’t always work; take note of the photo below where I’m pouring syrup on the french toast. The others, however, were all taken during Portrait Mode. Try it and learn how and when to use it.
Bonus tip: Use a reputable editing app.
Editing is just as important if not more important than taking the image. Even on a smartphone you want to use the best app you can that suits your style; and don’t just consider presets and filters! Presets and filters can make your phone look “cool” and trendy, but you will need a good app that can alter the photo accurately and finely. Snapseed, VSCO, and the free version of Adobe Lightroom are all good options for this purpose.
Here are some examples of great smartphone photos edited with apps.
There you have it; 10 tips for a great smartphone picture, as long as you know how to harness light to your advantage you will create great content without needing professional gear.


